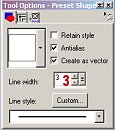
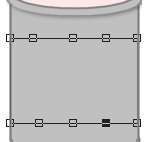
Well, if you're still with me, I guess I haven't bored you to death...yet! LOL 27. OK, add a new layer, and using your preset shapes tool, set as follows, draw a rectangle on your paint can. I used two different colors for mine, so if you want to do the same, set your foreground (stroke) color to whatever you like, and your background color (fill) to a complementary color. If you want your border a little wider, just set your line width to a higher number. Make sure you have both 'antialias' and 'create as vector' checked.
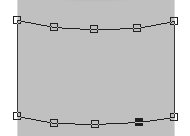
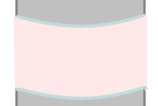
28. Click on your object selector (the little box with the arrow inside it), then right click inside your rectangle, and scroll down to 'node edit'. Add nodes as shown, and adjust very slightly, as in the image below. You just want it to curve a little as if it's going around the can, about the same amount of curve as the rim has to it.
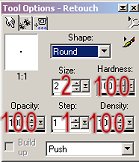
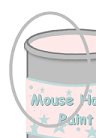
29. When you have it adjusted the way you want it, go to your layers palette, right click on the label layer, and click on 'convert to raster layer'. 30. Since any label on a can would likely go all the way around, you want to get rid of the border color on the sides. With your selection tool, draw a rectangle around your label, then click inside it to select the label. Now you can use your retouch tool, set as follows, and push the inside color over the border color on the sides to cover it, as below.
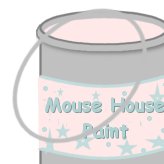
31. Deselect. You can now decorate your label however you please. I just used the preset shapes tool with the same foreground and background colors as my label, and drew shapes on mine then added some text. 32. Add a new raster layer. 33. With your foreground color set to the same color as the lighter color in your can, and the settings below, draw an ellipse as shown.
34. Go to 'image/rotate', and rotate by about 20-30 degrees right. Make sure that 'all layers' is NOT checked. 35. Move your handle...forgot to tell you that's what this was, didn't I? LOL...into position on the can as shown below.
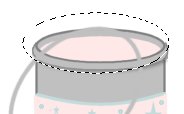
35. Using your selection tool, draw an ellipse around the top part of the handle as shown, and hit your delete button. Your image should look similar to the one below.
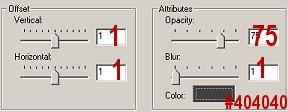
36. Now go to 'effects/3D effects/drop shadow', and using the settings below, put a drop shadow on your handle.
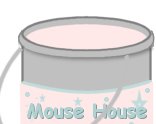
37. Go to 'layers/merge/merge visible', and believe it or not, your paint can is finished! Now, if you're sure you can stand my long windedness long enough to draw the mouse that's supposed to be inside this can, please continue on to (good grief!!! Who'da thunk it would take this long!) page 4.
|