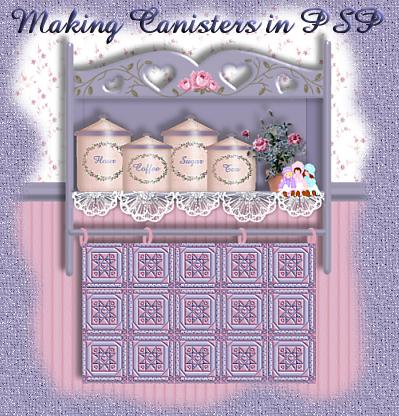
| 1) Open a new graphic, about 300x300, transparent background,
and add a new layer and name it 'base' or something similar. I like
to have a blank layer at the bottom, but if you don't, that's fine too.
2) Using the preset shapes tool, shape type rounded rectangle;
filled; antialias checked; create as vector UNchecked, draw
your rectangle the size you'd like the main part of your canister to be.
Mine is 144 x 194.
3) Next, using the selection tool set to rectangle, antialias
checked, draw a selection around the rounded part at the top of your rounded
rectangle, then go to 'edit/clear', to cut off the top portion of your
canister and give you a straight top.
4) Add a new layer, call it 'lid' or something similar.
Again using the preset shapes tool, shape type triangle; filled;
antialias checked, create as vector UNchecked, draw a small triangle.
If you're working with the same size base as I have, your triangle should
be about 135 wide x 30 high. If you're working with your own measurements,
make sure your triangle width is slightly smaller than the top of your
base. Go to 'image/flip', so that your lid is right side up.
5) Using the preset shapes tool again, shape type square, filled,
antialias checked, create as vector UNchecked, draw a small square at the
pointed tip of your triangle.
6) Add a new layer, and using the preset shapes tool set to
'ellipse', leaving the other settings the same, draw a small ellipse at
the top of the square you just drew. Use whatever accent color you've
chosen. Mine is set to #897DA7. Select the bottom half of your
ellipse with the selection tool set at rectangle, then go to 'edit/clear'
so that you have only half of the ellipse sitting on your square.
This forms the handle on the lid.
7) If you want the flecks in your canisters, as they are in
mine, go to 'image/noise/add', and set it to 5% random.
8) Go to 'colors/greyscale', and do the same thing on both
the base layer and the lid layer.
9) Next, go to 'colors/increase color depth/16 million colors',
so that you can recolor your images.
10) Click on 'colors/colorize' and play with the sliders until you
find a color you like. Mine is set at hue 15, saturation 75.
11) Add a new layer. With the preset shapes tool set
to 'rounded rectangle', filled, antialias checked, create as vector CHECKED
this time, draw a rectangle about 10 pixels wider than the width of your
base top, using whatever color you like. Mine is at #897DA7.
12) Now holding down your control key, click on the top right corner
of the box and drag it in toward the top middle. This is a very slight
move, just enough to make the ends of the rectangle slope
inward a little to fit the bottom of your lid triangle.
13) With your magic wand, click on the
blue line to select it, then add a new layer. Go to 'selections/modify/contract/1'.
14) Go to 'image/effects/drop shadow'.
Set your shadow color to a darker shade of your base color, (mine is at
#87614D) opacity 35/blur 3/horizontal and vertical 2. Do not deselect.
Do another drop shadow with the same settings, except set the horizontal
and vertical to minus 2. Deselect and go to your layers palette and
move this layer below the layer with the blue line.
PAGE 2
|
